All Activity
- Yesterday
-
 Upgraded my Jetpack Greeblies this weekend during armor party to more accurate metal ones from MachineCraftReplicas. Also upgraded to screen accurate red LED.
 - Last week
-
 Dr0kto joined the community
 -
 Quiir0 joined the community
 -
 JimJTM joined the community
 -
 MBart changed their profile photo
 -
MBart joined the community
-
 BobaFLake joined the community
 -
 plaguedoctorspencer joined the community
 -
 Din Silver Beard joined the community
 -
 RiseMatziboy joined the community
 -
 toad83x joined the community
 -
 Pandemic0815 joined the community
 - Earlier
-
Buongiornoci sentiamo dopo tantissimo tempo e tantissimo lavoro sul costume di Bo Katan.stiamo molto molto faticosamente procedendo con la approvazione con i Mando Mercs Club.Abbiamo avuto responsi diversi da giudici diversi e a volte poco chiari del tipo "il blu non va bene".Il costume è cambiato tantissimo rispetto alle foto che vi abbiamo inviato a maggio 2023 specialmente nelle parti che ci avevate già indicato a suo tempo.Abbiamo stampato in 3D un nostro casco e lo stiamo verniciando, se pur con qualche difficoltà.E' nostra intenzione sottoporlo ancora ai giudici Mando e poi, qualunque sia l'esito, sottoporlo ai 501.Questa mail serve unicamente a riallacciare i contatti e a verificare la correttezza dell'indirizzo mail e a verificare se Bo Katan è ancora un personaggio 501.Marta & C.P.S. In questo preciso momento, sto scrivendo io, Mauro Mele, il padre di Marta, visto che lei, sorda profonda, non riesce a esprimersi molto bene. Ma purtroppo, sono appena uscito dall'Ospedale dopo un incidente e ho un braccio al collo, mi hanno dato diversi mesi (!) di prognosi per cui siamo fermi con i lavori.
-
 Axe94 changed their profile photo
 -

BH-18314 ( David15658 ) Black Krrsantan WIP.
David15658 replied to David15658's topic in Black Krrsantan
Mask from Captain Nater arrived yesterday. Currently used for display until my costume is finished. I've add some eyes myself. Needs a hair styling but it's definitely a piece of art... -
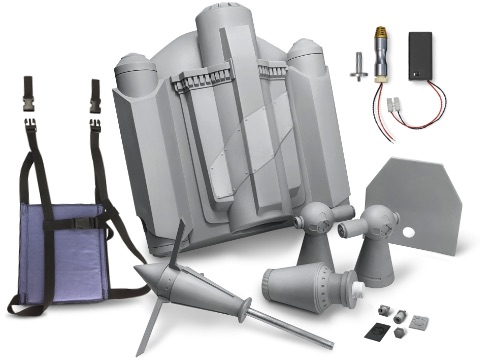
I use this system. One thing I needed to do was move the straps a bit (and added a strap), cause I needed it way tighter than the straps wanted to go. And the back straps/clips were sitting too low to where I needed to connect it to the jet pack. You need it pretty tight to hold well. The second strap I added (the grey one) closes above my chest and the bottom one is across it. And yes, I have mine under the flak vest. the straps come out holes we added on the back of the vest. They connect through the backplate to the jetpack and it's a little tricky to hook up, but once on, is pretty secure. My wife knows how to do it and we taught a couple other people in my Garrison, so I have a few people at troops that knows how to attach it!
-

Jet Pack Attachment Methods
dogbertwrldrulr replied to Kasdin's topic in Boba Fett (Repainted Armor)
I don't know much about the Repaint Fett kit, but have you looked into the harness used for the EST/ROTJ Fett costumes? The shoulder strapping is probably comparable, you just need black strapping instead of white. It also has the aluminum bar at the bottom which you could probably also paint black. You would then need the mounting brackets for that put on the JP. Let me know if you would like pictures. -
Hello Hunters! I am finishing up my BobaMakers Repaint Fett kit, and onto the rigging. I have the bobamaker jet pack kit, and I have to admit that I am a little stumped regarding the best way to attach the jet pack to the harness comfortably. From what I gather, the harness is worn below the flack vest, holes are cut out of the vest, and the straps are fed through the holes, through the back plate, and then hold the jet pack up. This feels quite flimsy from my early tests. Do any of you have a better way to attach a jet pack that I am perhaps not considering? Let me know below!
-
 BCWesolowski changed their profile photo
 -
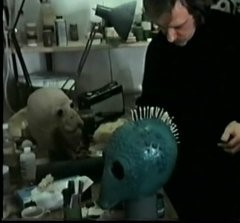
.jpg.6166c842a29d3b4a8f0eb57890f253d3.jpg)
-
I don't know, the VHT seems to have the closest texture, but I'm not a professional painter either. Here's a photo of the screen used helmet showing the texture. Looks pretty "crinkley" to me.
-

BoBF armor texture: Which pieces have it?
mmorgan2141 replied to Rook 3's topic in Boba Fett - Daimyo
How do purposely get the paint gun to sputter in a consistent and expected way? -
It's not VHT wrinkle spray imo as that has welll.. a wrinkled texture, ideally your looking at a base coat with a sputtered texture sprayed not something you can really get out of a can directly its a technique on application of the finish Something akin to a matte base coat followed by build up of texture varying pressure/flow on HVLP to get the materials to sputter
-
Originally I was told it was an engine "crinkle" finish. You need to apply it when the temperature is warm enough. VHT Wrinkle Plus Engine Paint When I did it it was too cold and it only half turned out. When you apply it is appears smooth. The wrinkle texture appears as it dries. Rattlecan sand texture bed liner some have used.
-
 Sundeen changed their profile photo
 -
BoBF armor texture: Which pieces have it?
mmorgan2141 replied to Rook 3's topic in Boba Fett - Daimyo
Working on my first suit of armor, does anyone have a recommendation for getting that uniform “pebbled” texture? -
.thumb.jpg.d5050dbbd0e46586fb1215bda48039e0.jpg) BH71107 changed their profile photo
BH71107 changed their profile photo -
DV1's BoBF Daimyo built (Pics HEAVY)
DarthVader1 replied to DarthVader1's topic in Boba Fett - Daimyo
I've just realized that my chest armor is actually LARGER and flatter than it should be. The reason is that I forgot I used a different set of 3D files to print those three pieces (chest right, chest left and ab, also the neck but that one is OK). The reason, the small dents in the armor were included in the design (WoodTechArmory). I am as we speak reprinting those pieces with the intended 3D files from MysteryMakers, to then prep and paint this weekend and have newer pictures taken by the 14th (over a week from now). Posting comparison pictures old vs. new. The original files are a bit thin, but I altered them a little bit by adding more thickness and also more of a curve for proper fitting without compromising too much the accuracy. Size comparison between the old and the freshly printed. Added increase in thickness, and also more curve to fit my body. Showing thickness and curve at the same time. -
I've just realized that my chest armor is actually LARGER and flatter than it should be. The reason is that I forgot I used a different set of 3D files to print those three pieces (chest right, chest left and ab, also the neck but that one is OK). The reason, the small dents in the armor were included in the design (WoodTechArmory). I am as we speak reprinting those pieces with the intended 3D files from MysteryMakers, to then prep and paint this weekend and have newer pictures taken by the 14th (over a week from now). Posting comparison pictures old vs. new. The original files are a bit thin, but I altered them a little bit by adding more thickness and also more of a curve for proper fitting without compromising too much the accuracy. Size comparison between the old and the freshly printed. Added increase in thickness, and also more curve to fit my body. Showing thickness and curve at the same time.
-

Gar Saxon S7 - Working CRL Draft 2020
Mando_Brian replied to Thiggette's topic in Clone Wars MW CRL's
Has there been any progress on the CRL for this character? Is the guideline above enough to get the costume approved? -
The Armor Foundry has made all the Beskar parts for my other halfs Din Djarin. We opted to weather the parts ourselves so it would match the rest of the parts. I'd highly recommend them, being reasonably priced, easy to get in touch with and willing to work with you to get the parts as they're the best fit and size for you.
-
I'm currently looking into them as well. The pictures on their website look on par with makers like Jsin Props and others. I'd even argue that their backplate is more accurate than Jsin. The kit (armor + helmet) seems very reasonable too at $525, and armor, helmet, and jetpack for $875. They've been really quick to respond to questions and seem like they're on the up and up. I'm >.< that close from putting in an order with them.
-
 Nathan777 changed their profile photo
 -
 MandoCalrissian changed their profile photo
 -
 Spectra changed their profile photo
 -
BH-18314 ( David15658 ) Black Krrsantan WIP.
David15658 replied to David15658's topic in Black Krrsantan
Thanks for your answer, I saw those boots. I'm just afraid it's not super stable and an ' ankle breaker '... If I'm not happy with the stilts I could give them a try anyway. Those are Mad Monkey Props ones. -

BH-18314 ( David15658 ) Black Krrsantan WIP.
KellwolfB6 replied to David15658's topic in Black Krrsantan
Depending on how tall you want to be, you might not even need stilts. Since the CRL has the height at 6’9” you could get away with 6” platforms and be well above that. They’re more comfortable and you avoid the elephant foot look. I went with that after using stilts and, trooping wise, it’s the best decision I’ve made. Screwed the toes into the soles of the shoes and made boot covers out of the same mesh I used for the body suit. https://demoniacult.com/products/stack-201bvl?fbclid=IwQ0xDSwKlXtRleHRuA2FlbQIxMQABHnwQd13mG5NmRhbORV09pDi1mtBXCRH9D7Lt6X2OKnyeVgoT0bvGZ1jdTDLB_aem_eFsRq4ehfPFVEaAw1yFKaQ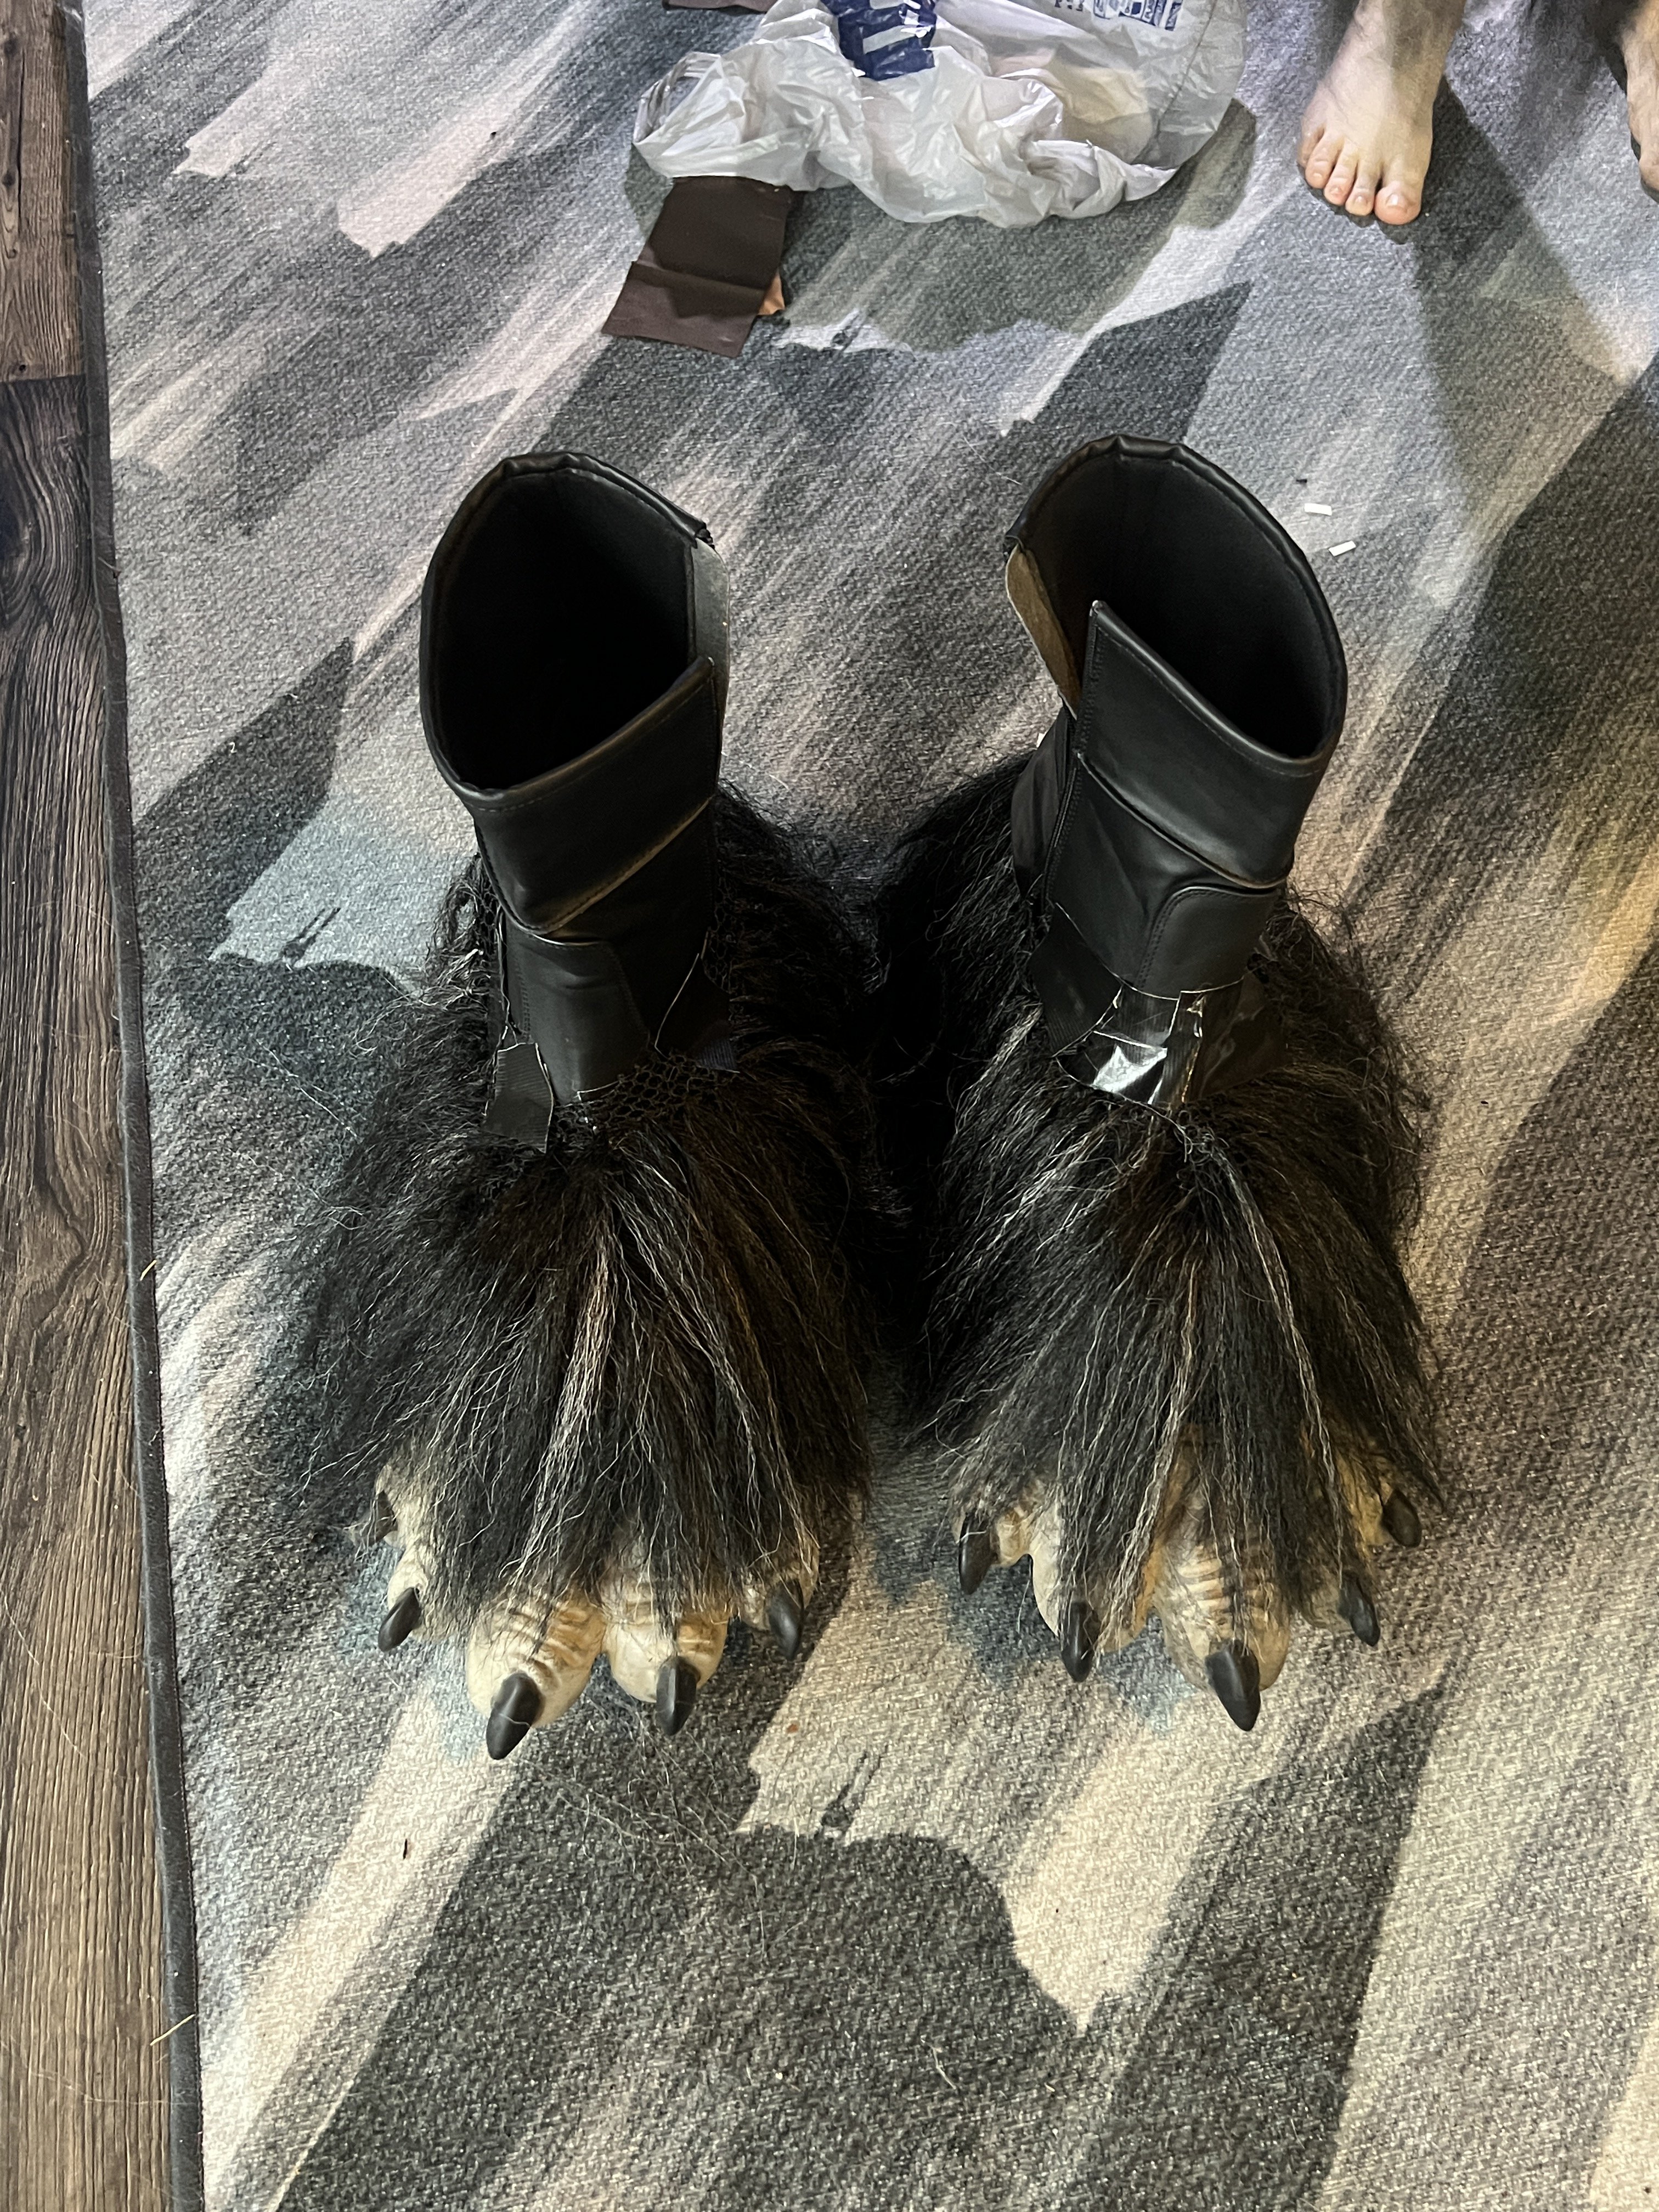
-
Hello fellow Bounty Hunters, I'm in the progress of building an BOBF Black Krrsantan. I'm already an approved BOBF Din Djarin so this will hopefully be my second BHG costume. 🤞 My 12th 501st Legion costume. 😎 This is what I planned to acquire to help me out : Mask : Captain Nater alias Nathan Ritchey ( I'm on his waiting list. ) In my opinion the best out there. My first intention was to go with Evil Chimp because he's situated in Ireland ( European Union ) so I could save a lot of money but he doesn't make BK's mask anymore. Suit : Mad Monkey Props alias Lee Monkman. I'm pretty confident Lee will make a good approvable suit , he's a nice guy to deal with. ( Deposit paid for beginning the suit. ) Leather Parts : Mel Mattson. ( Ordered ) Armor Parts : 3D Cauldron. ( Ordered, painting and weathering will be done by myself. ) Stilts : Mad Monkey Props. I've saw the stilts made by them. I hope the final look will not be too ' elephant feet ' and that it's not too high... They will add about 14 inches to my length and I'm already naturally 6.4 ( 192cm ) ( Ordered ) Blaster : I have no idea because I can't print one myself and I would like to find a finished one that is not too heavy. Hands : Gorilla latex hands from Amazon. ( Owned ) I will update this WIP with pictures later when all the parts arrive... Feel free to comment and give advice. Thanks for reading.
-
 Cipher changed their profile photo
 -
 dacranda changed their profile photo
 -
Cipher's Din Djarin BOBF WIP (Approved 5.25.25)
Cipher replied to Cipher's topic in Din Djarin (BoBF)
Approved!!! Thanks to everyone for the support and feedback! Time to start working on the minor stuff to make it more accurate! BH 41114 reporting for duty. -
-
-
-
-
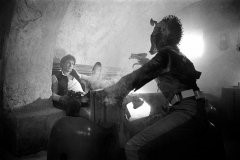
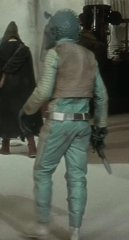
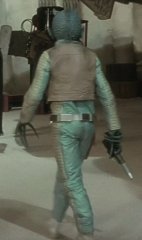
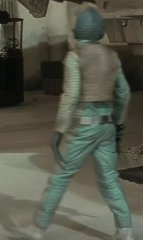
Screen caps from the latest 4K footage.
-


.jpg.4c09cd69ec8b999356f88b245b05ec72.jpg)


.jpg.56922ae6c85f87a99ccfe933c4909535.jpg)